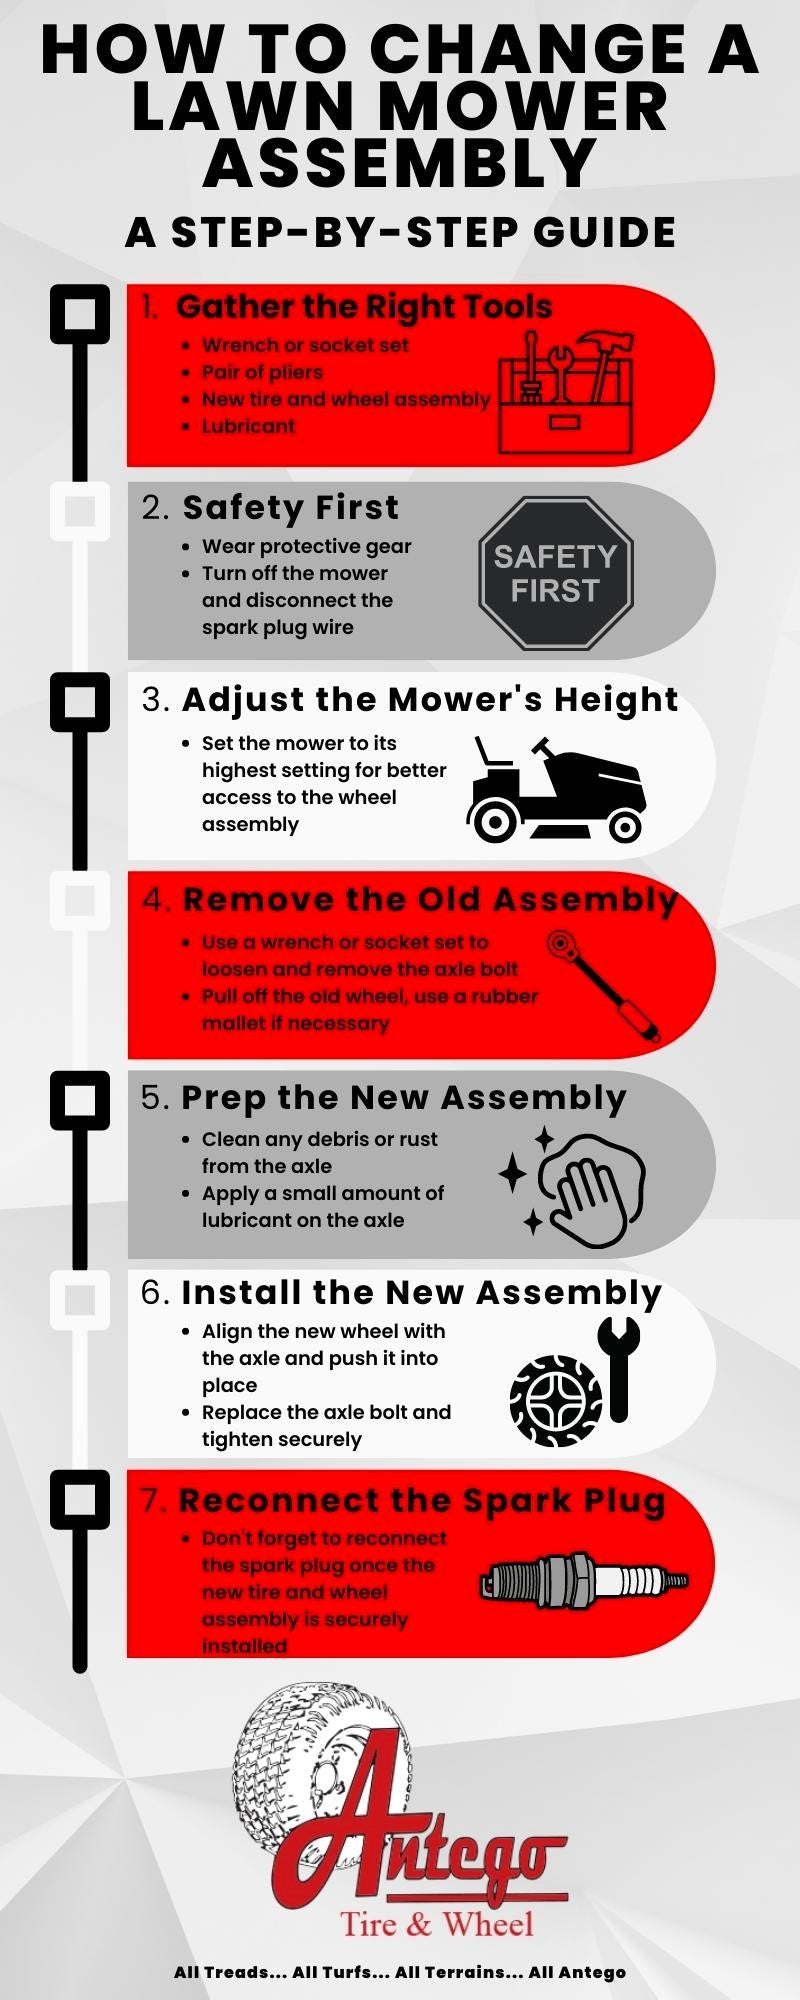
Step-by-Step Guide: How to Replace a Lawn Mower Tire and Wheel Assembly
Hello there, wonderful customers and followers of Antego Tire and Wheel! Today, we're going to walk you through a step-by-step process for replacing a lawn mower tire and wheel assembly. It's a necessary skill for all homeowners and gardeners, especially as we roll into the heart of the mowing season.

Step 1: Gather the Right Tools
Before starting your replacement project, make sure you have all the necessary tools at hand. These include:
- A wrench or socket set for removing the axle bolt
- A pair of pliers
- A new tire and wheel assembly (preferably one from Antego, known for durability and superior performance)
- Lubricant (like soapy water) to make the tire replacement easier
Step 2: Safety First
Before beginning the tire change, ensure your safety. Wear protective gloves and glasses if available. Turn off the lawn mower and disconnect the spark plug wire to ensure it doesn’t start unintentionally.
Step 3: Adjust the Mower's Height
Before removing the old tire, adjust your lawn mower's height to the highest setting. This will allow you to have better access to the wheel assembly. Remember, the height adjuster is typically located near the wheel or at the mower's base. If you're unsure, consult your mower's manual for exact location and instructions.
Step 4: Remove the Old Tire and Wheel Assembly
To remove the old tire, use a wrench or socket set to loosen the axle bolt. Once the bolt is loose, you can pull off the old wheel. Sometimes, the wheel might be stuck due to rust or debris. In such a case, use a rubber mallet to lightly tap the wheel and break the bond.
Step 5: Prep the New Wheel
Before installing the new wheel, check if the axle needs cleaning. Wipe away any debris or rust with a rag. Apply a small amount of lubricant to make the installation of the new wheel easier.
Step 6: Install the New Wheel and Tire Assembly
Now that your axle is clean and prepped, it’s time to install your new Antego wheel and tire assembly. Align the wheel with the axle and push it into place. You may need to wiggle it a bit to ensure it's seated properly. Once it's on, replace the axle bolt and tighten it securely using your wrench or socket set. Make sure the wheel rotates freely on the axle.
Step 7: Reconnect the Spark Plug
With the tire replacement complete, don't forget to reconnect the spark plug. Now your mower is ready to go!
At Antego, all our tire and wheel assemblies are aired to the correct PSI and ready to roll right out of the box. No need for an air pump, we've got you covered.
That’s it! You've successfully replaced your lawn mower tire and wheel assembly. If you encounter any problems during this process, remember that our team at Antego Tire and Wheel is always here to help. We’re committed to ensuring your lawn mowing is always a smooth ride.
At Antego, we believe in providing the best quality products to make your life easier. Check out our wide variety of lawn and garden tires to find the perfect match for your mower.
Thanks for trusting Antego Tire and Wheel. Until next time, happy mowing!
Please note that this guide is intended as a general overview. For specific models or types of lawn mowers, please refer to your user manual or consult with a professional.


